
Contact us / Hours / Address
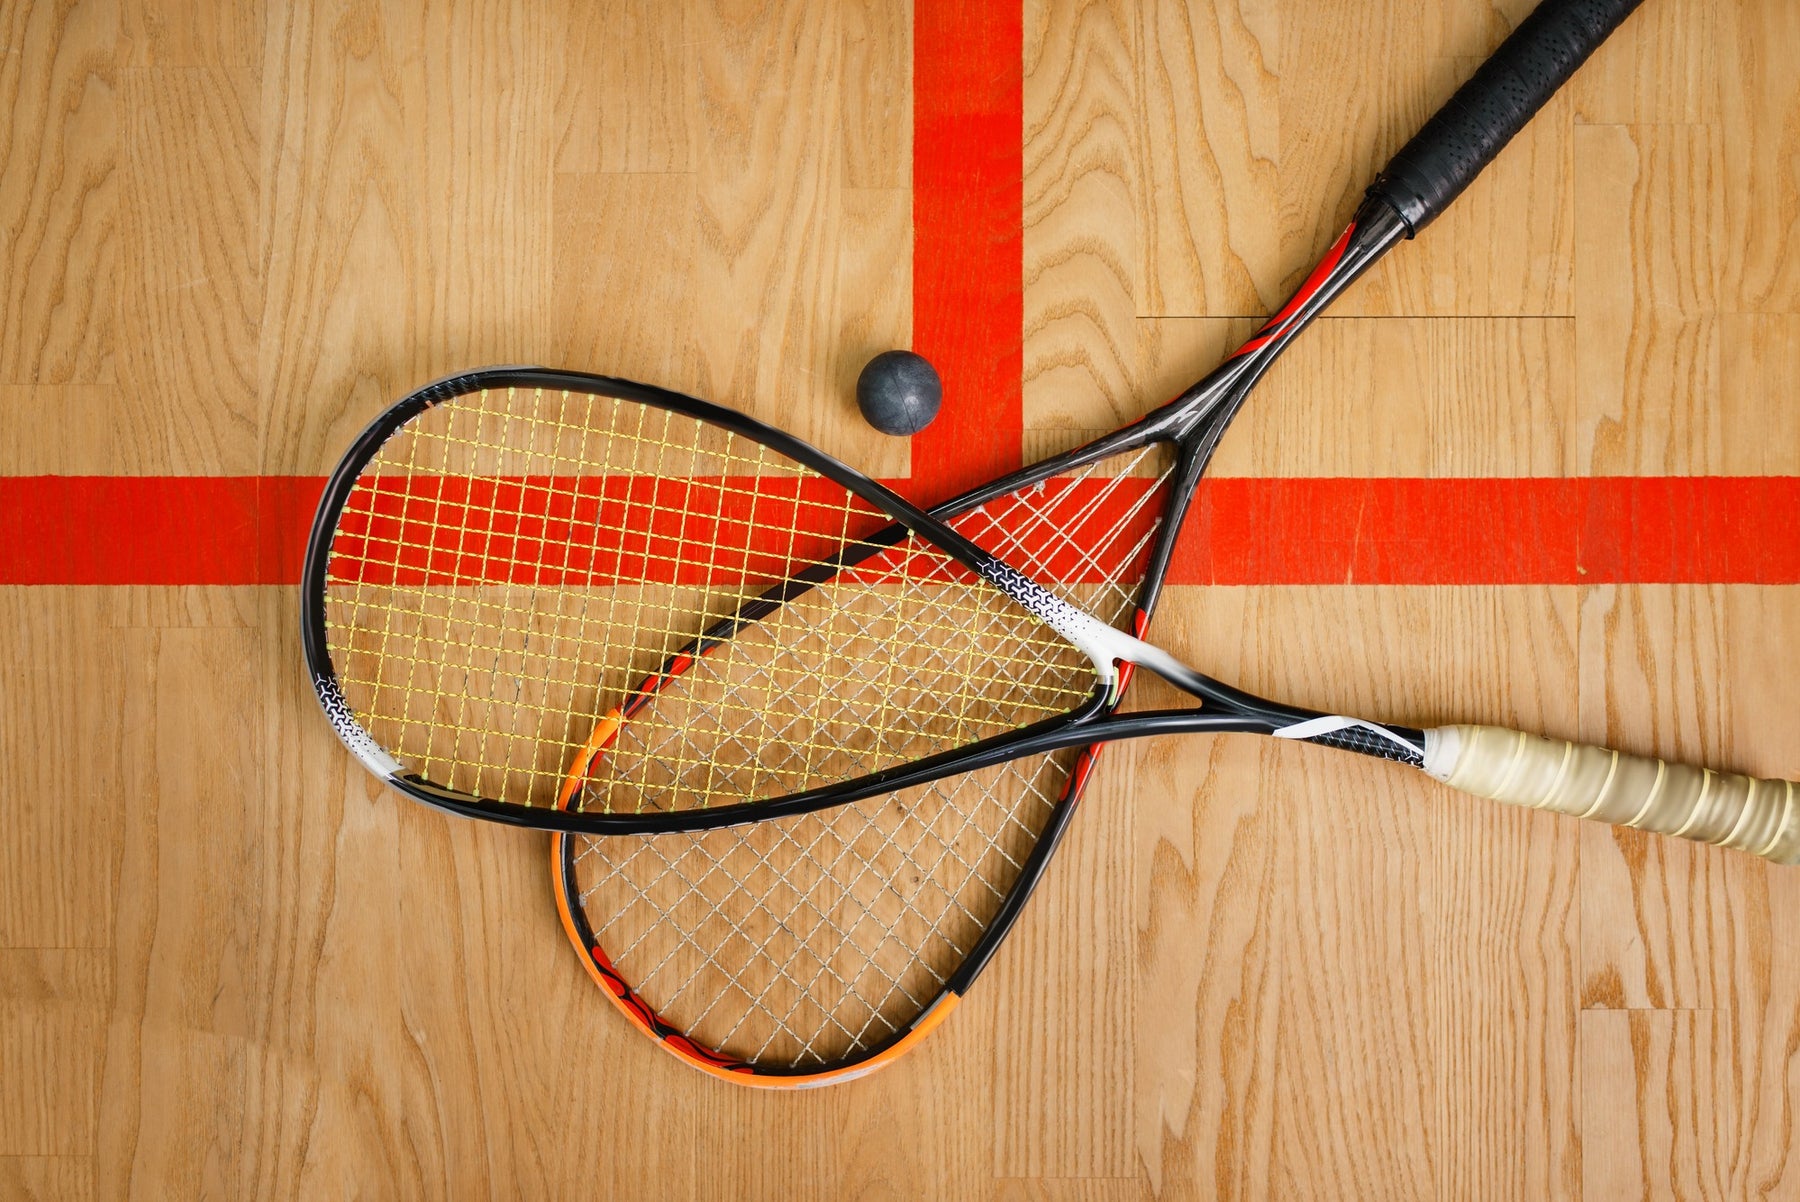
When you’re playing squash, the last thing you want is for your hand to get sweaty and weaken your grip on the racquet. A high-quality grip will absorb sweat and ensure you have a firm grasp at all times.
Over time, however, you may start to notice that you’re losing control of the racquet. This is probably a sign that it’s time to replace the grip.
This process is also known as ‘regripping’ and is a normal part of owning a squash racquet. It isn’t hard to do and is definitely preferable to buying a whole new racquet. In this article, we’ll show you how to do it, step by step!
There are a few signs that your squash racquet grip needs replacing. First of all, if your grip stops absorbing sweat as well and becomes uncomfortable in your hand, it’s time to regrip.
You may also notice a bad odor coming from the grip, for the same reason. In any case, it’s best to regrip your racquet sooner than later to prevent your game performance from suffering.
Luckily, regripping a squash racquet isn’t too difficult.
First, you’ll need to buy a new grip. You’ll need to decide whether you’re going with a standard grip or an overgrip.
A Standard Grip: This is, as the name implies, the default grip that squash racquets come with.
An Overgrip: This is a grip that covers the standard one, which makes replacing it easier. However, although it’s thin, it does make the racquet handle thicker. If you have large hands, this is fine; but if not it can be an issue.
In order to regrip a squash racquet, you’ll need:
If you’re just adding an overgrip to your racquet, you can skip this step.
Otherwise, you’ll need to get rid of the grip that’s currently on your squash racquet. To do this, simply peel off the tape on the top of the grip. Then, unravel the grip and throw it out.
You’ll probably notice that the handle is sticky and may have small bits of grip leftover. That’s normal. Just use some disinfectant wipes to get as much off as possible. It doesn’t have to be perfect!
While this isn’t a necessity as most grips are sticky enough to stay in place, some people like to add double sided tape to their handle first. This may prevent the new grip from sliding.
Again, this step isn’t necessary, but you can do it if you like.
When you have your new grip, you’ll notice a paper layer protecting the sticky substance on the bottom, while a transparent plastic film protects the surface on the outside. Don’t remove these just yet – you’ll do so as you wrap the handle.
Most grips come with a piece of tape that you’ll use for securing the grip once it’s wrapped. Set this aside for now.
This involves a few steps, and it’s the same process whether you’re putting a new grip on an empty handle or just adding an overgrip.
On most grips, there will be a side labeled ‘start’, a red strip of tape, or a tapered end to tell you which end to use. Slowly peel off the grip’s top and bottom protective layers.
Place the start on the bottom of the buttcap paqrellel to the end of the racquet, and wrap it around one rotation (counter-clockwise for a righty - clockwise for a lefty). After wrapping the butt cap, slowly start going down the handle.
Work at a slight angle (about 30 degrees) to overlap the grip just a bit (¼ inch approx) as you work your way down. Wrap it tight, but not too tight - be careful not to make the grip too thin. You may even break the grip if you make it too tight!
(Pro Tip) - If you like a knurled grip feel, that is a slightly raised ridge overlap the grip a little bit more (½ inch approx) as you wrap the grip.
If you get to the end of the handle and find that you still have a bit of grip left, you don't have to use it all! You can cut the remaining bit diagonally with a pair of scissors to end it cleanly.
Use the tape that came with the grip (or electrical tape if your grip didn't come with any) and wrap it around the top of the grip to make sure it stays in place.
Even if your grip came with a tape sticker, you may want to add electrical tape just to be sure it stays in place. Most grip tapes will eventually peel off, so you want to keep it as secure as possible.
Pro Tip - Good pro shops may stock a finishing band that is like a thick rubber band to go over the tape and clean it up even more.
Adding an overgrip is optional. If you choose to do so, it’s the same process as adding a standard grip – just repeat the process once more!
That’s all there is to it! You can replace a squash racquet grip all on your own with just a few simple steps.
The hardest part is usually trying to get the angle right while working your way up the handle. Just remember to take your time, and you can always unwrap it and start over. If you do fail though, look up your local racquet store and take it there.
We hope you’ve learned something new from this article! Thanks for reading.
Interested in checking out more news, updates, and products from the world of squash? Have a look at our Team Squash page and signup for the newsletter!
Leave a comment